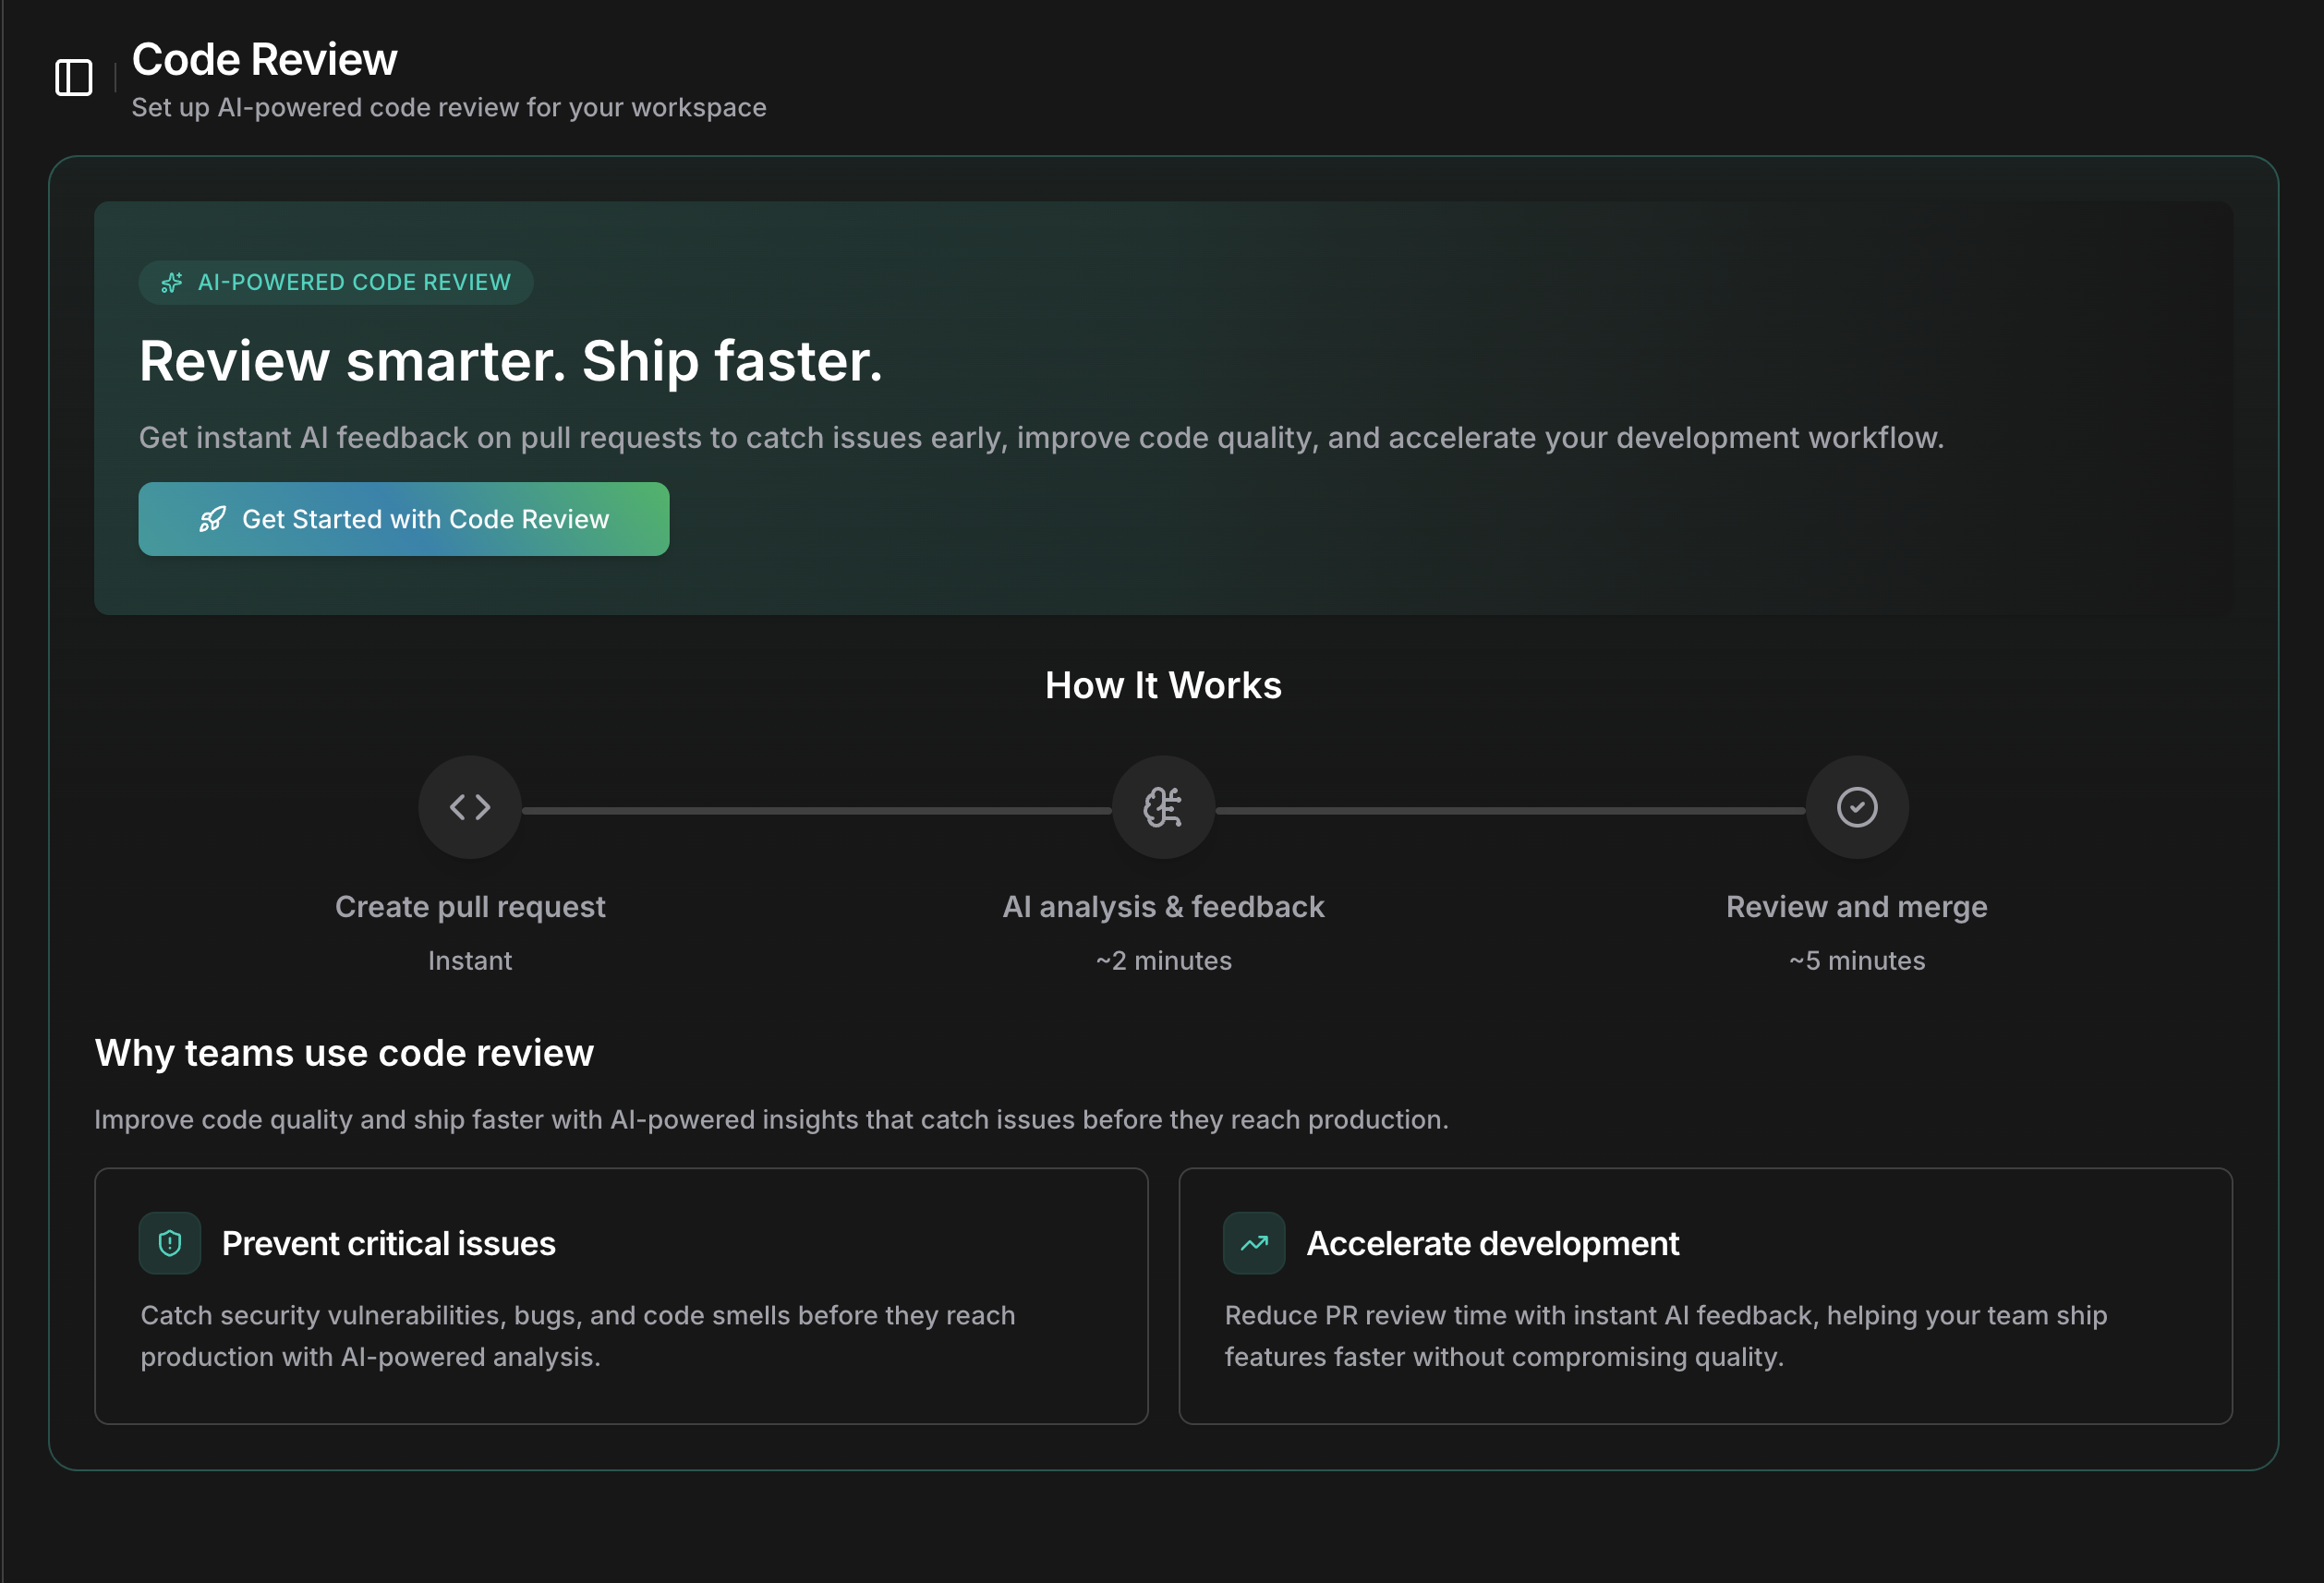
New to Code Review? Start with the Overview to understand how it works before connecting your repositories.
Prerequisites
- A GitHub, GitLab, Bitbucket, or Azure DevOps account with repository access
- Familiarity with Git workflows and Pull Requests/Merge Requests
- A CloudThinker workspace
Quick Start
Create Pull Request
Open a new PR on your connected repository — CloudThinker detects it automatically.
Step-by-Step Guide
Step 1: Connect Repository
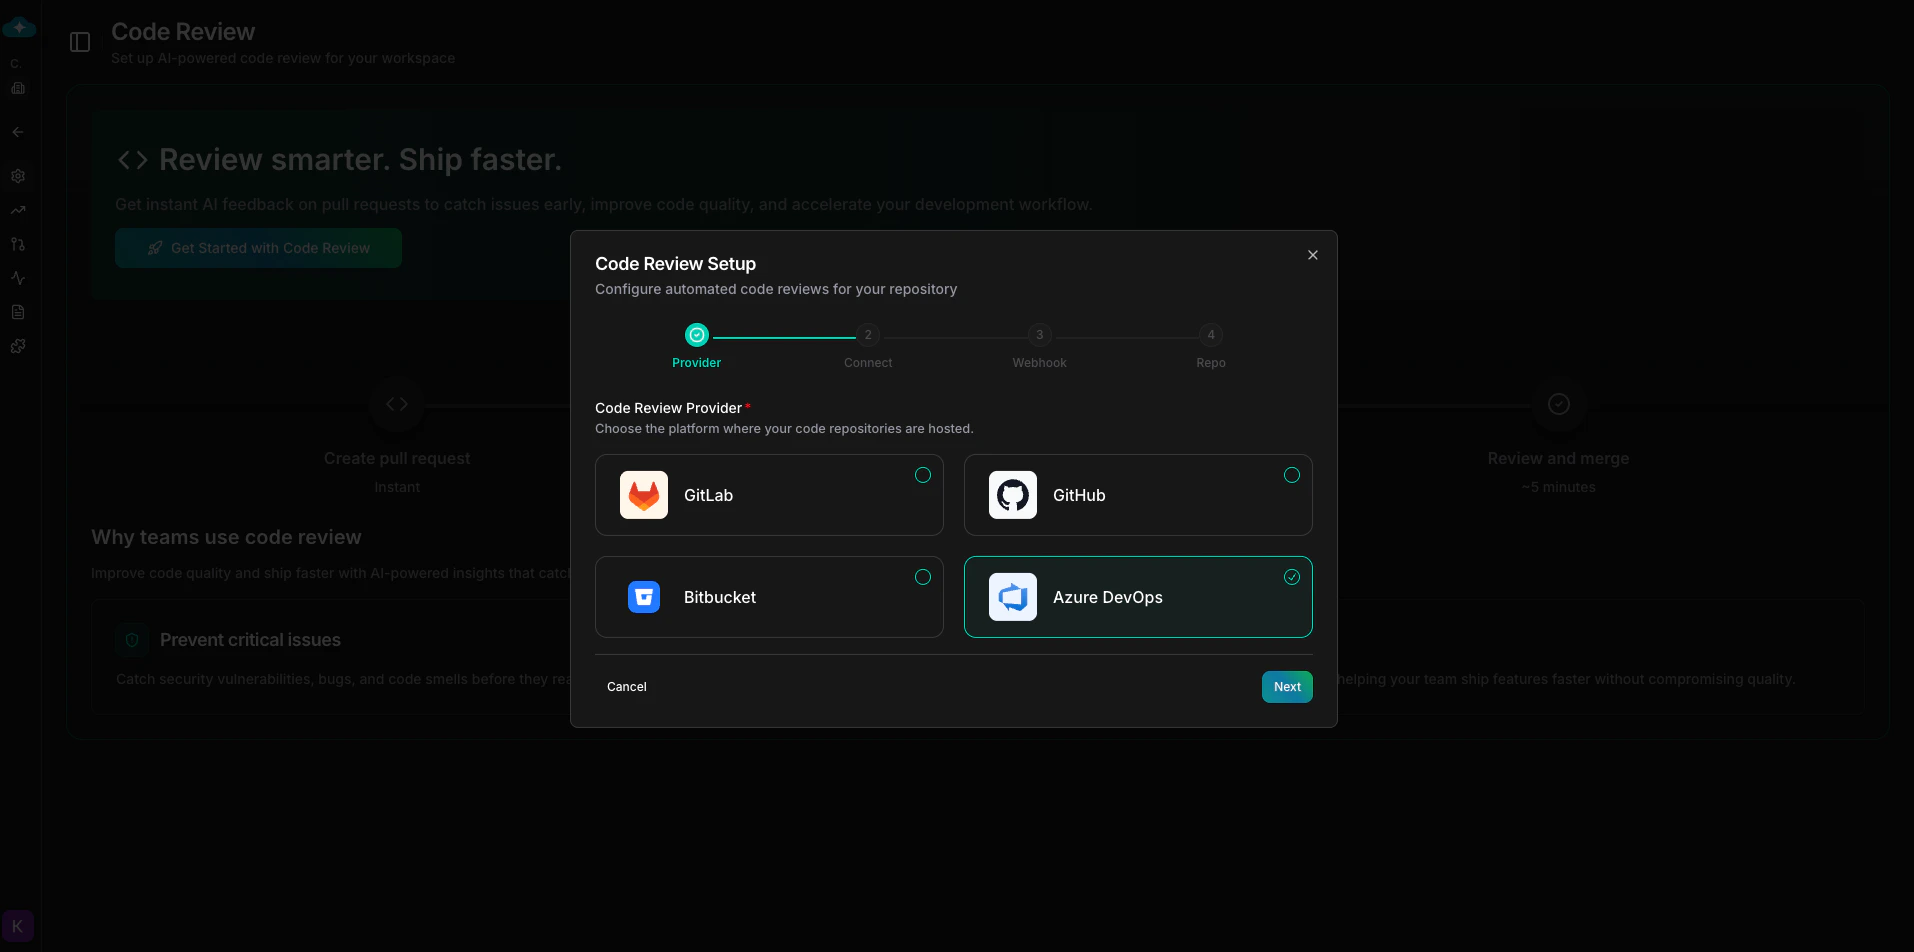
Authenticate
- GitHub
- GitLab (OAuth)
- GitLab (Access Token)
- Bitbucket (OAuth)
- Bitbucket (Access Token)
- Azure DevOps
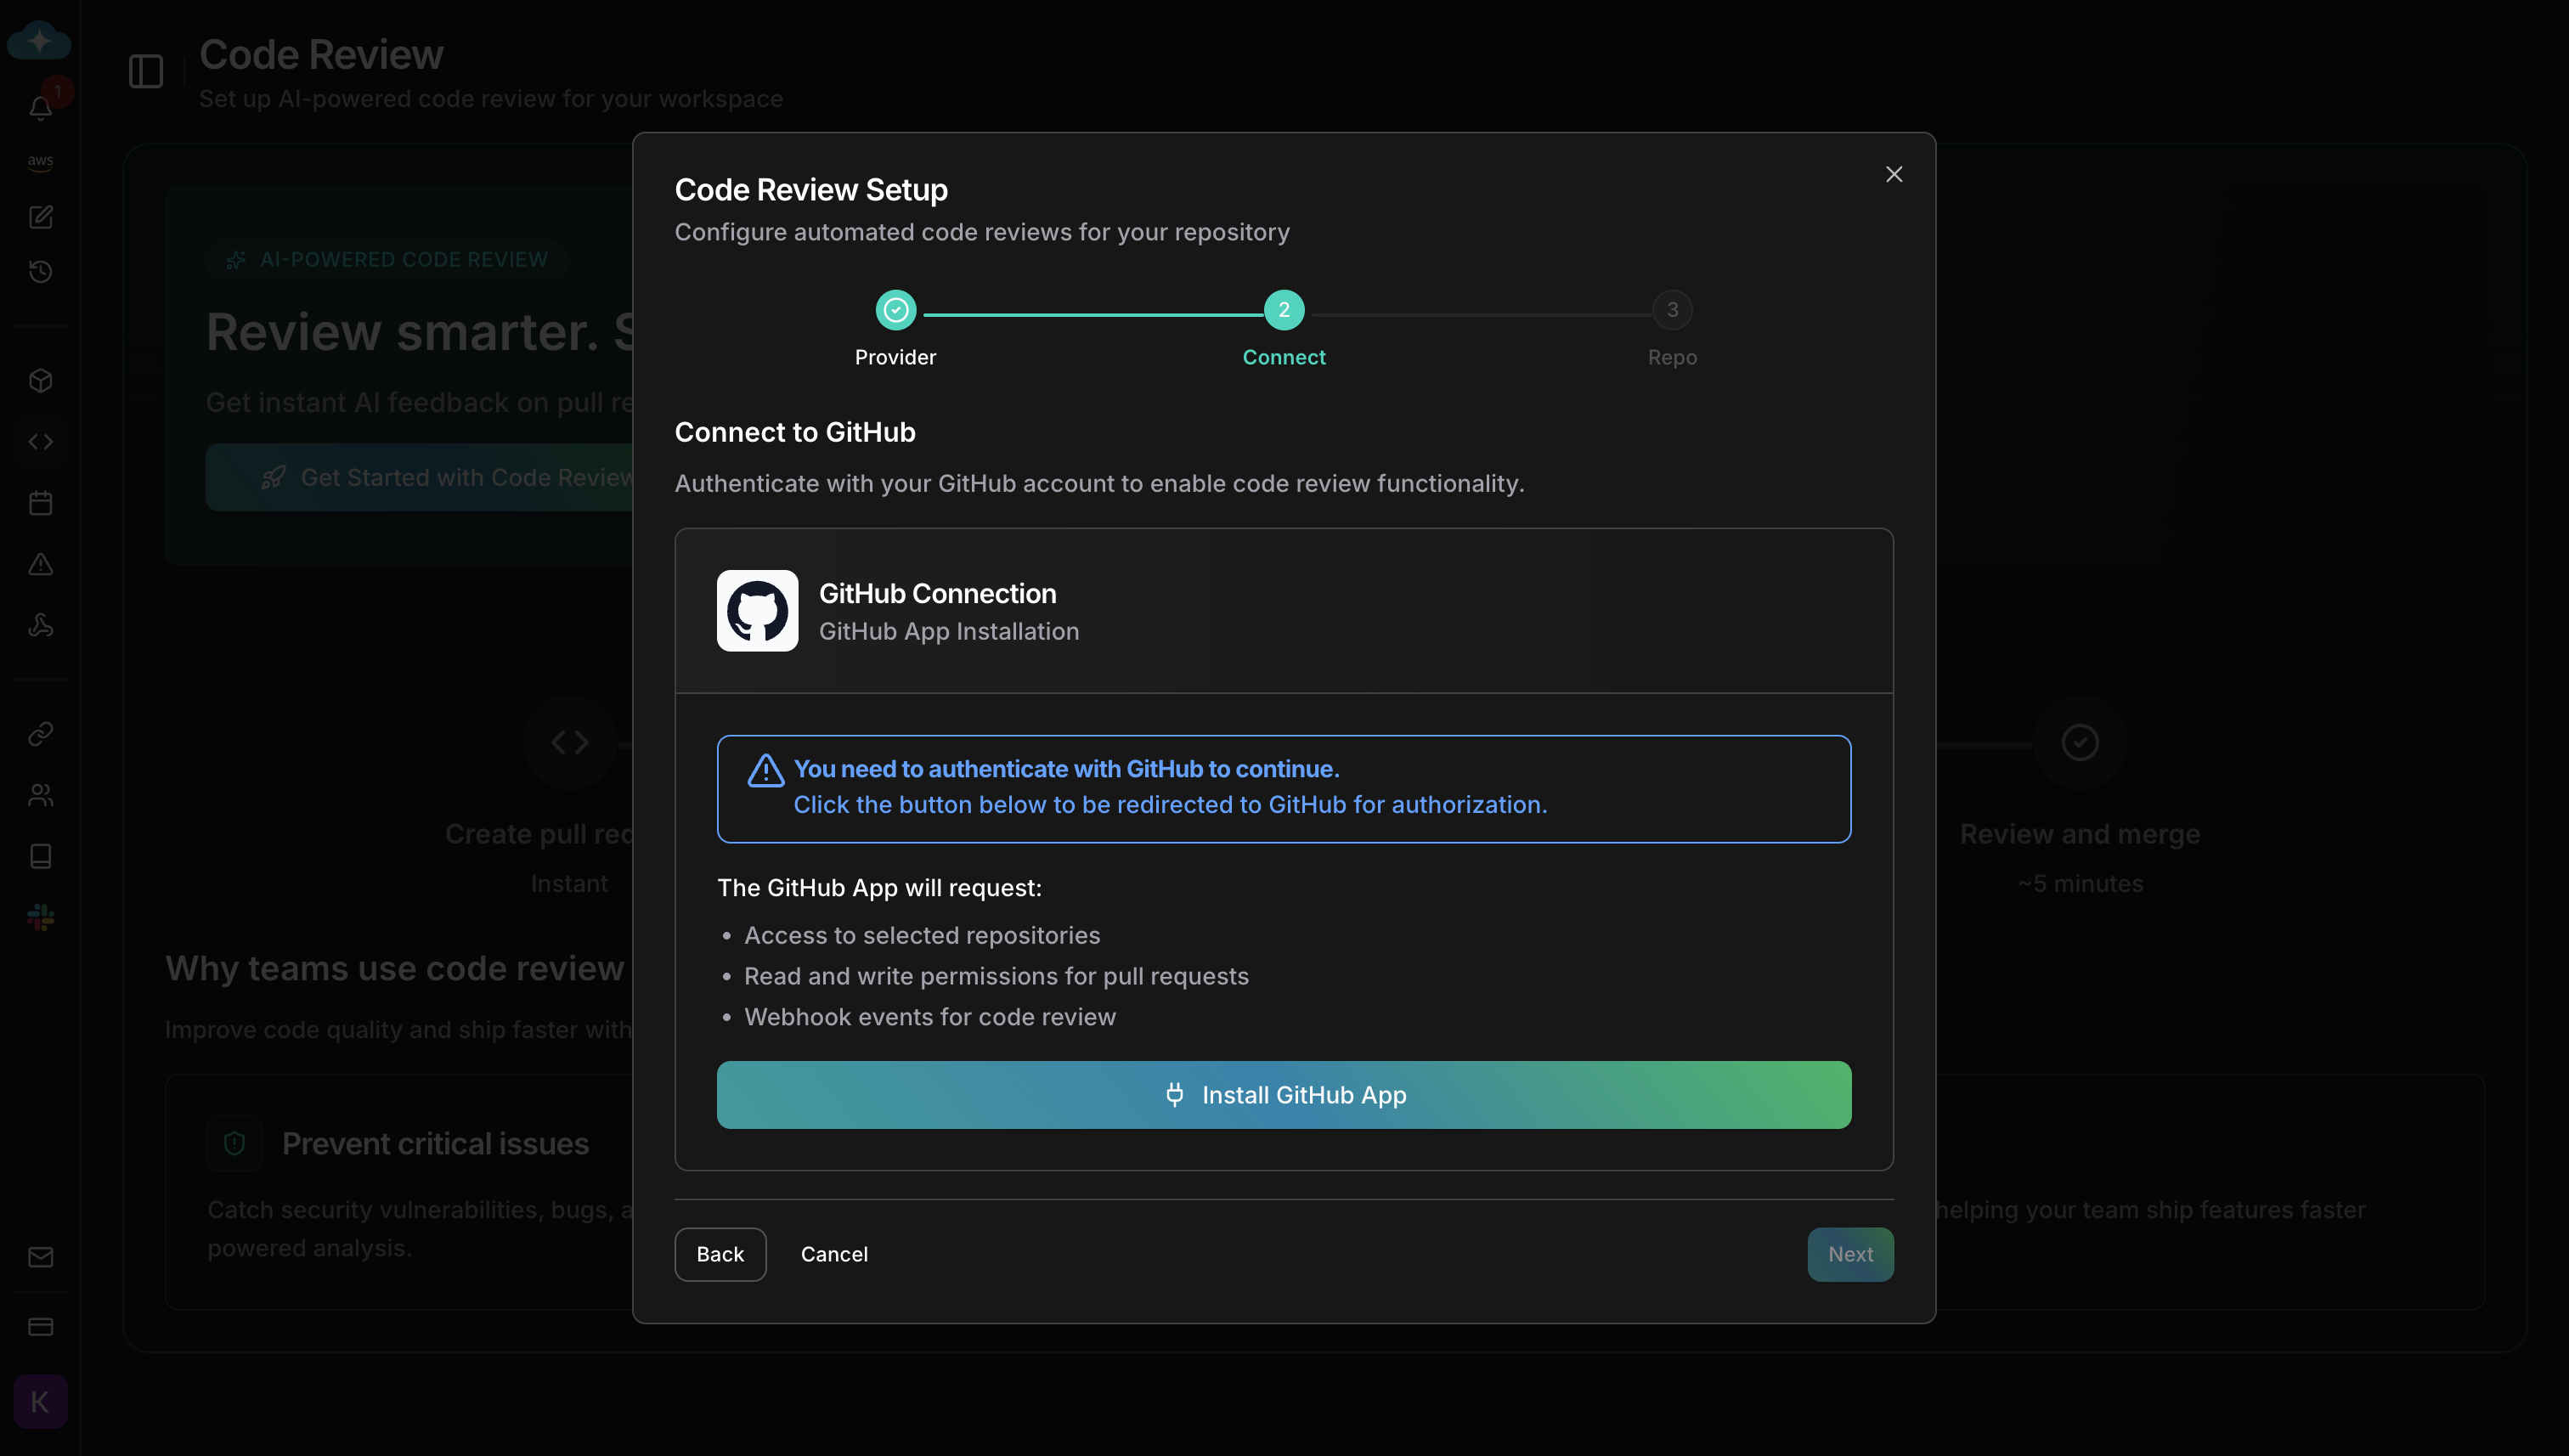
Click Install GitHub App to begin the GitHub App installation.You will be redirected to GitHub to select an organization and grant repository access. After authorizing, you are returned to the setup wizard automatically.
GitHub webhooks are registered automatically by the GitHub App — no manual webhook configuration is needed.
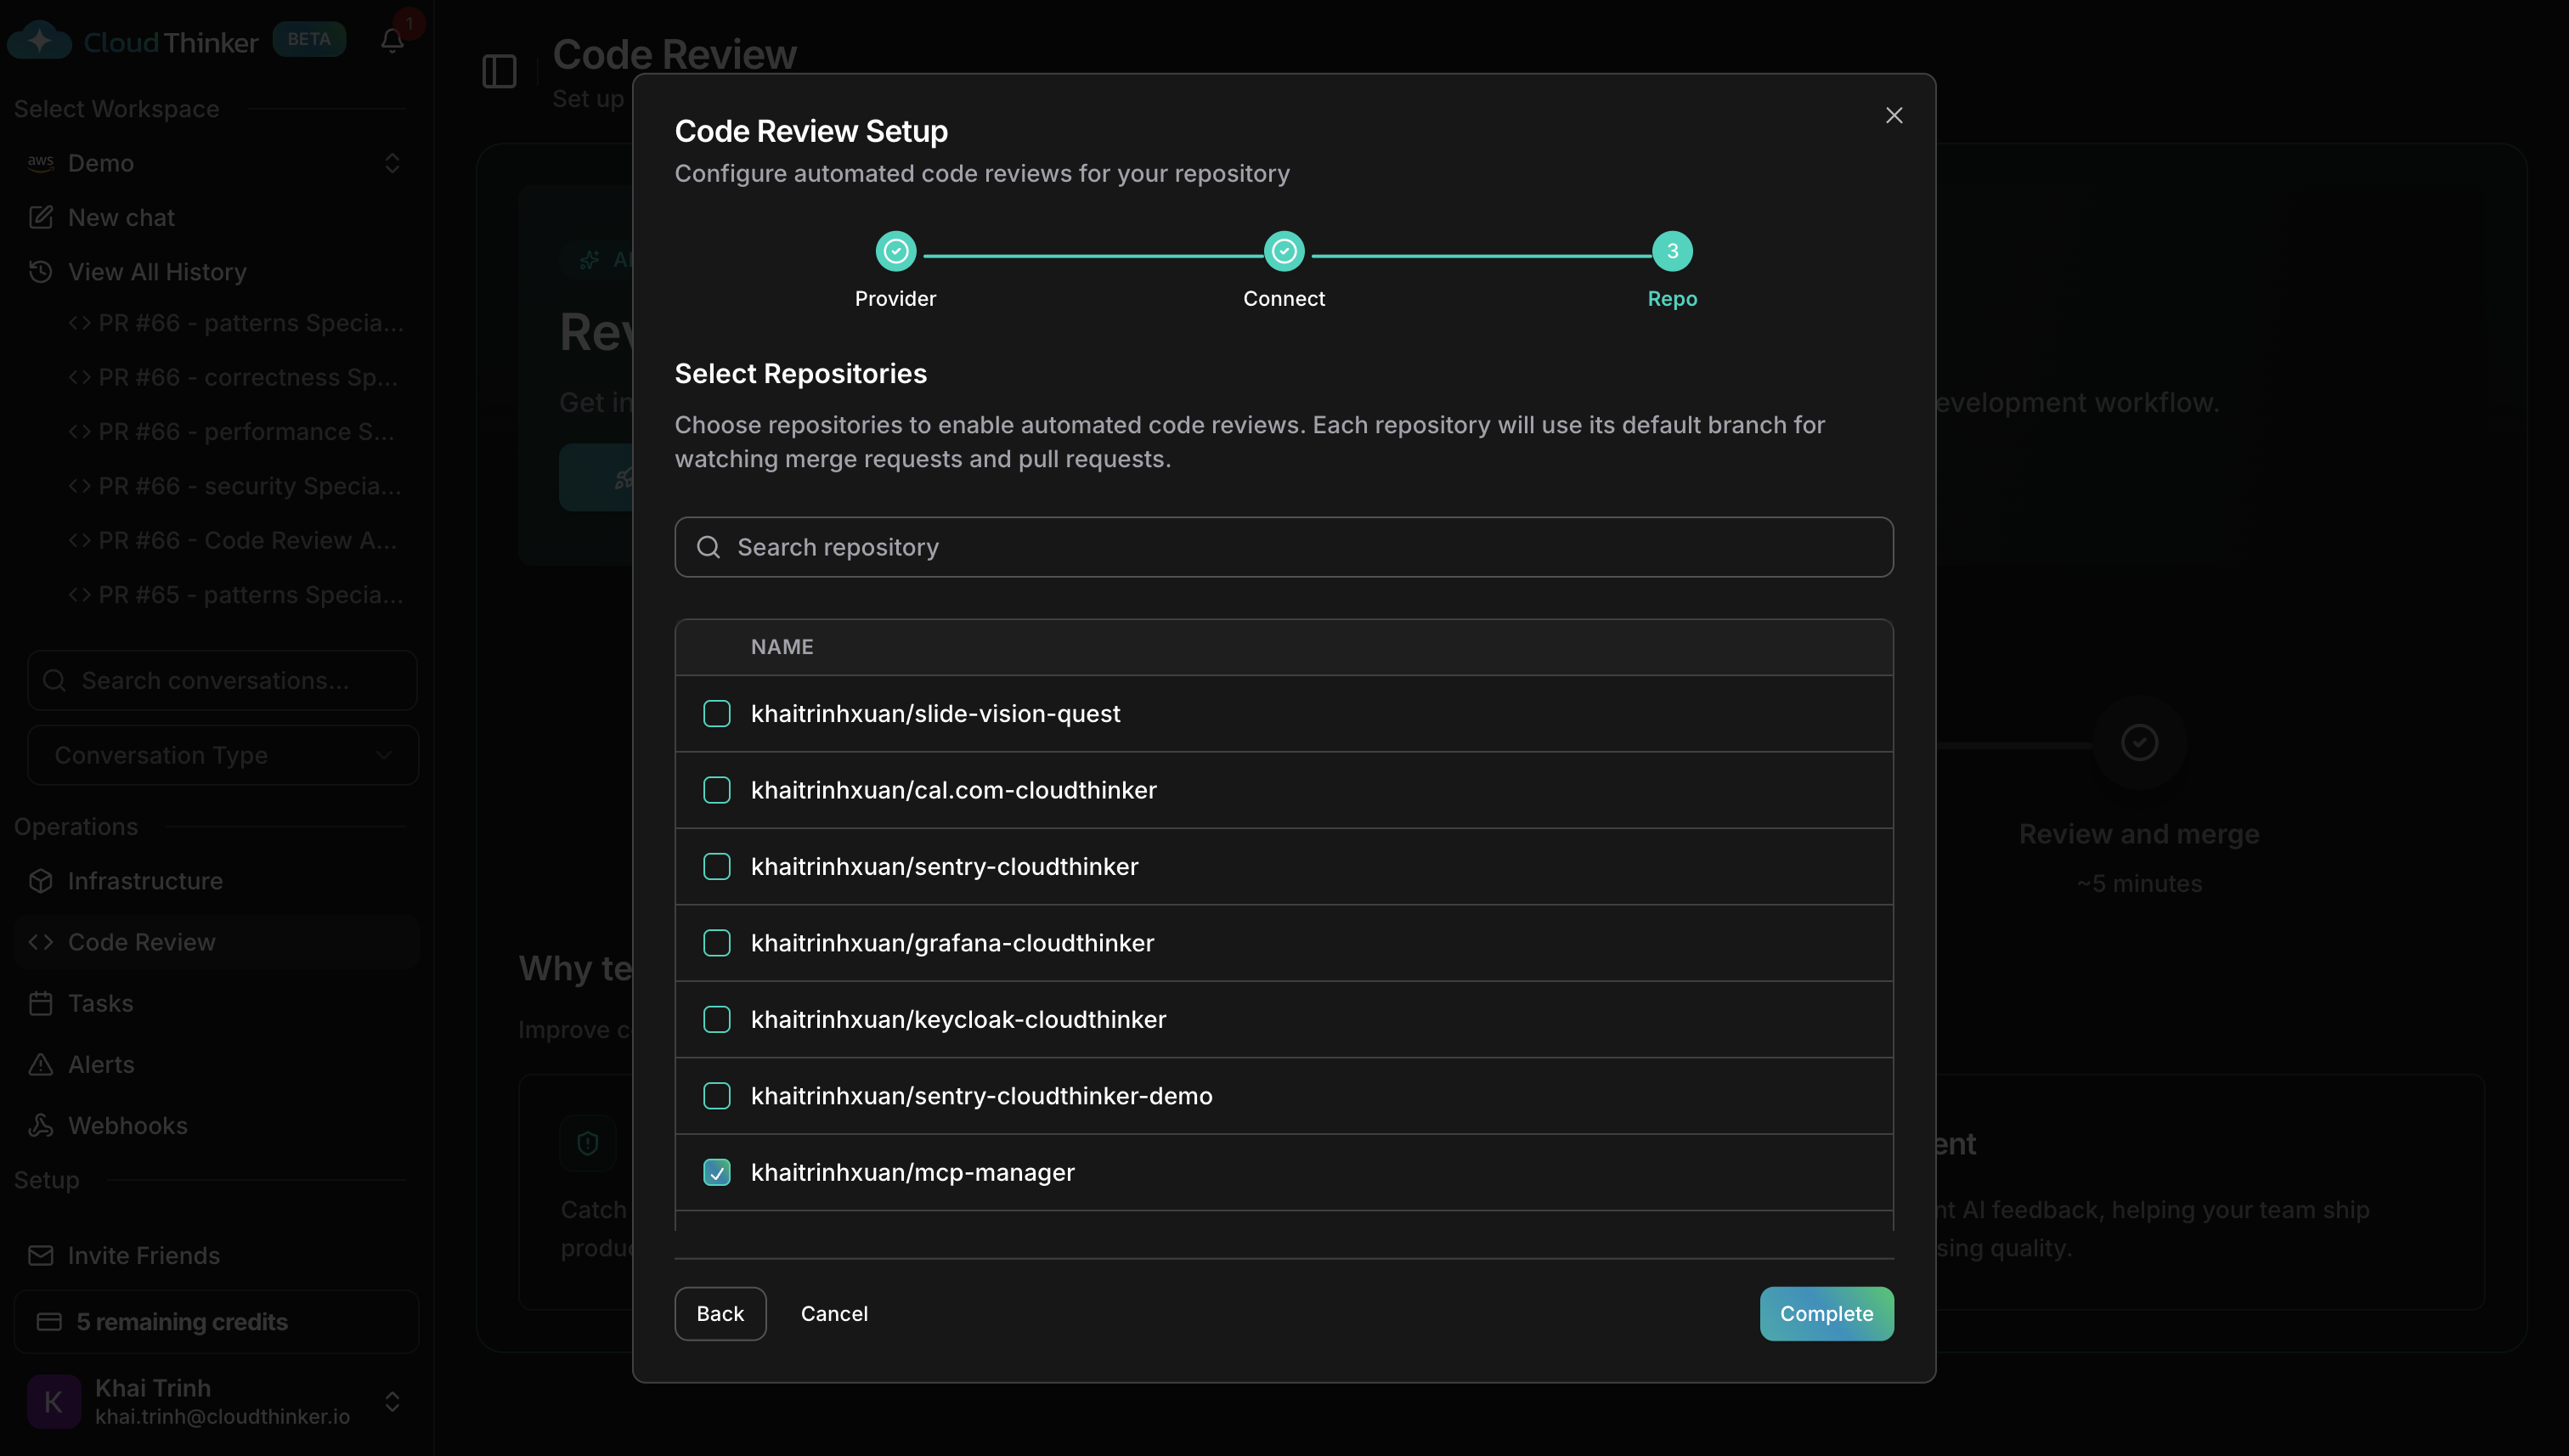
Setup Successful! Once you see your repositories listed, CloudThinker is now monitoring your Pull Requests and Merge Requests.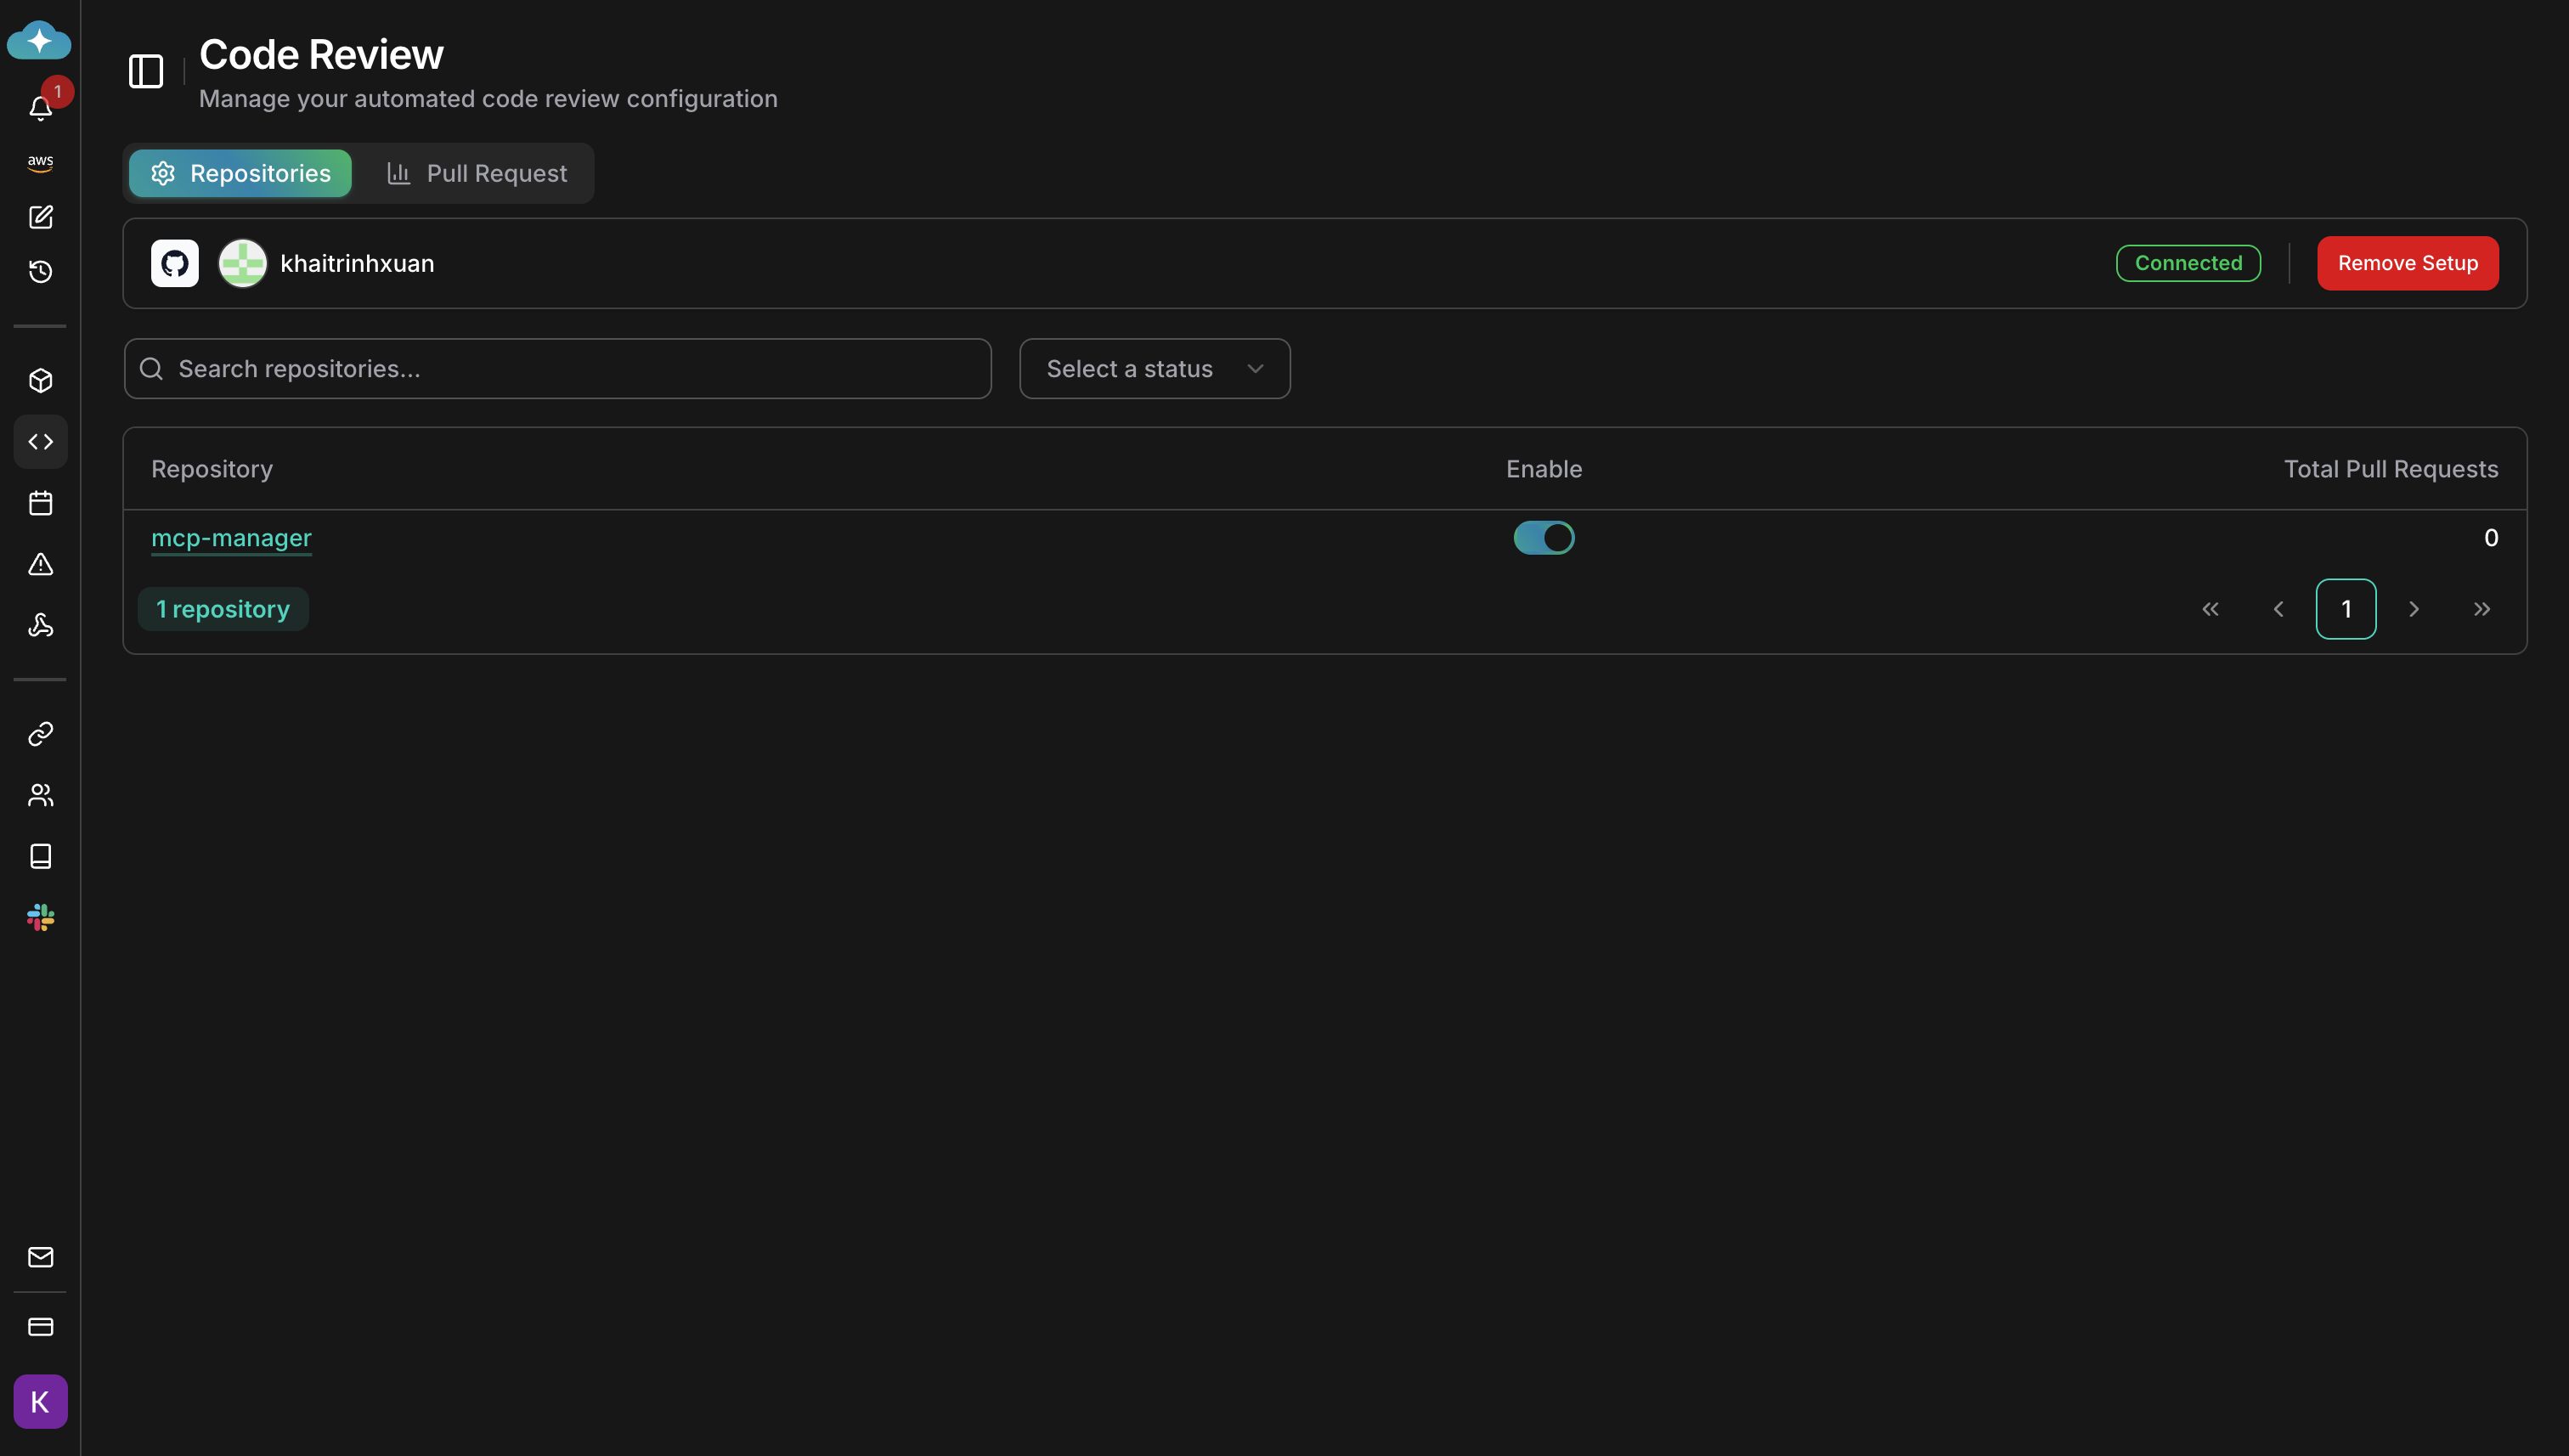
Webhook Configuration
Some providers require manual webhook configuration. GitHub and Bitbucket register webhooks automatically — no action is needed.- GitLab
- Azure DevOps
After connecting your GitLab account, configure a webhook in your GitLab project or group:
- Go to your project/group → Settings → Webhooks
- Paste the webhook URL shown in the setup wizard
- Enter the secret token provided
- Enable these triggers:
- Merge request events
- Comments
- Pipeline events
- Click Add webhook
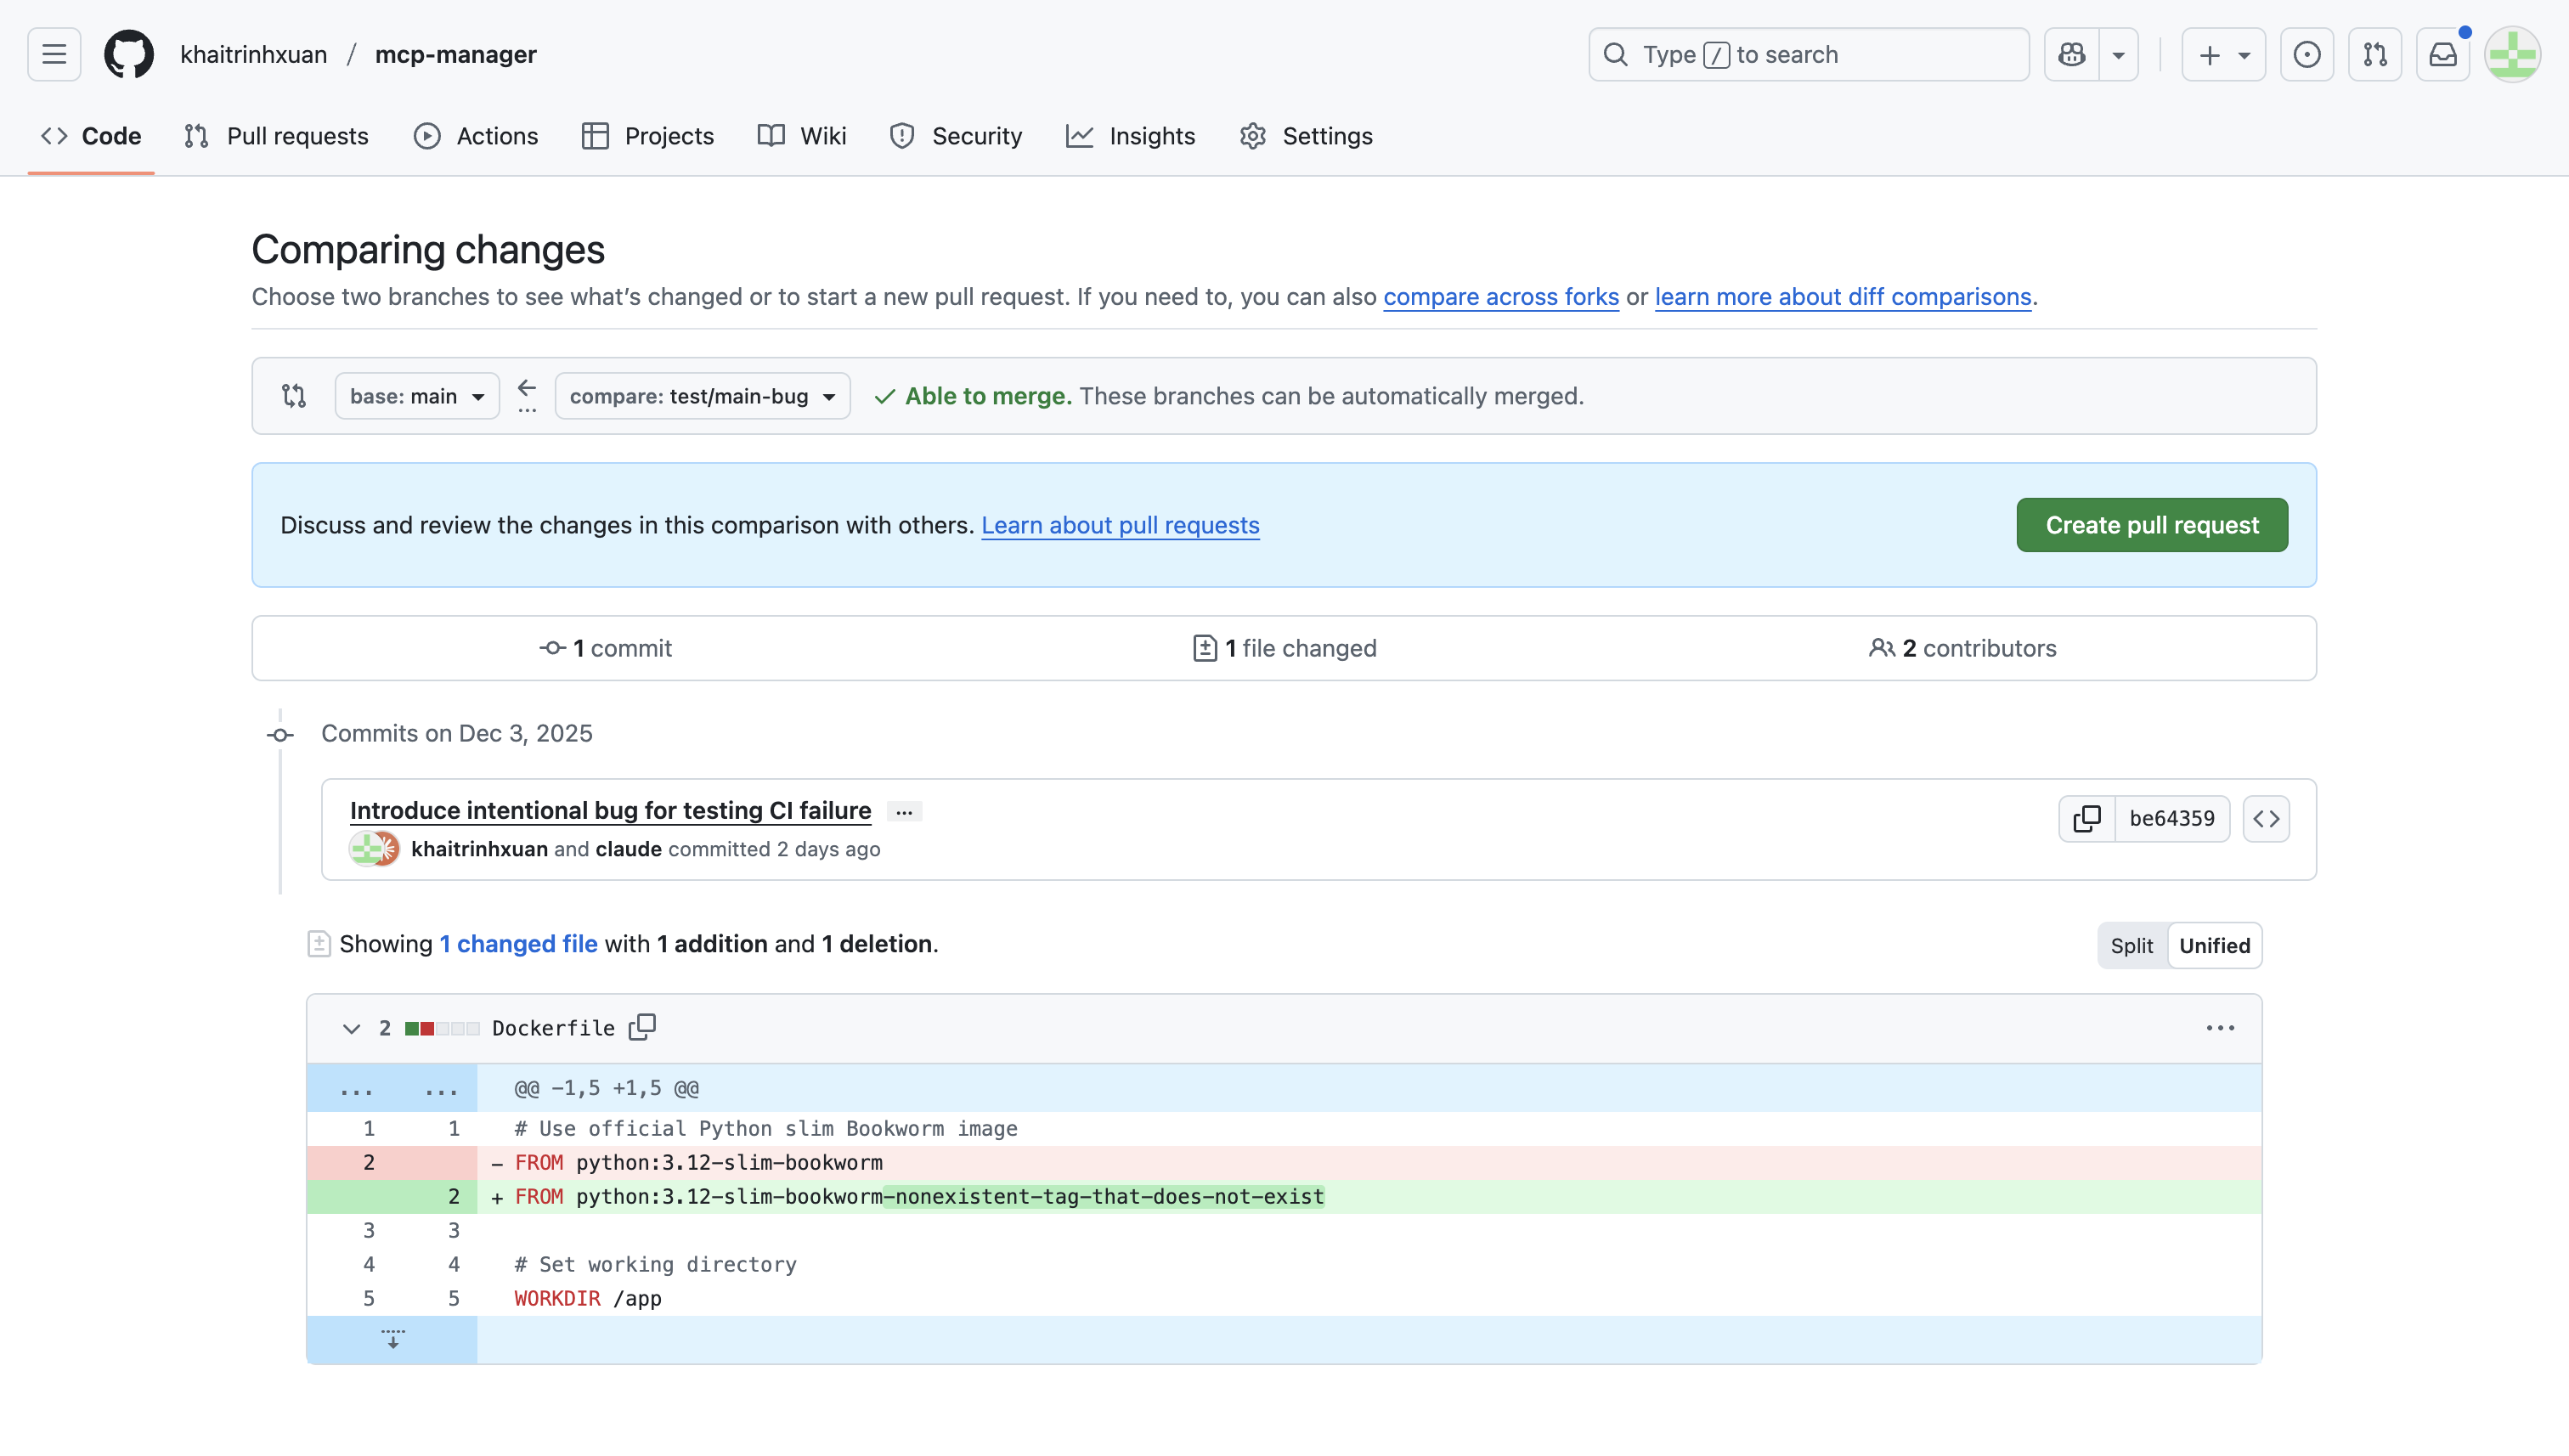
Step 2: Create Pull Request
Open your repository
Navigate to your connected repository on GitHub, GitLab, Bitbucket, or Azure DevOps.
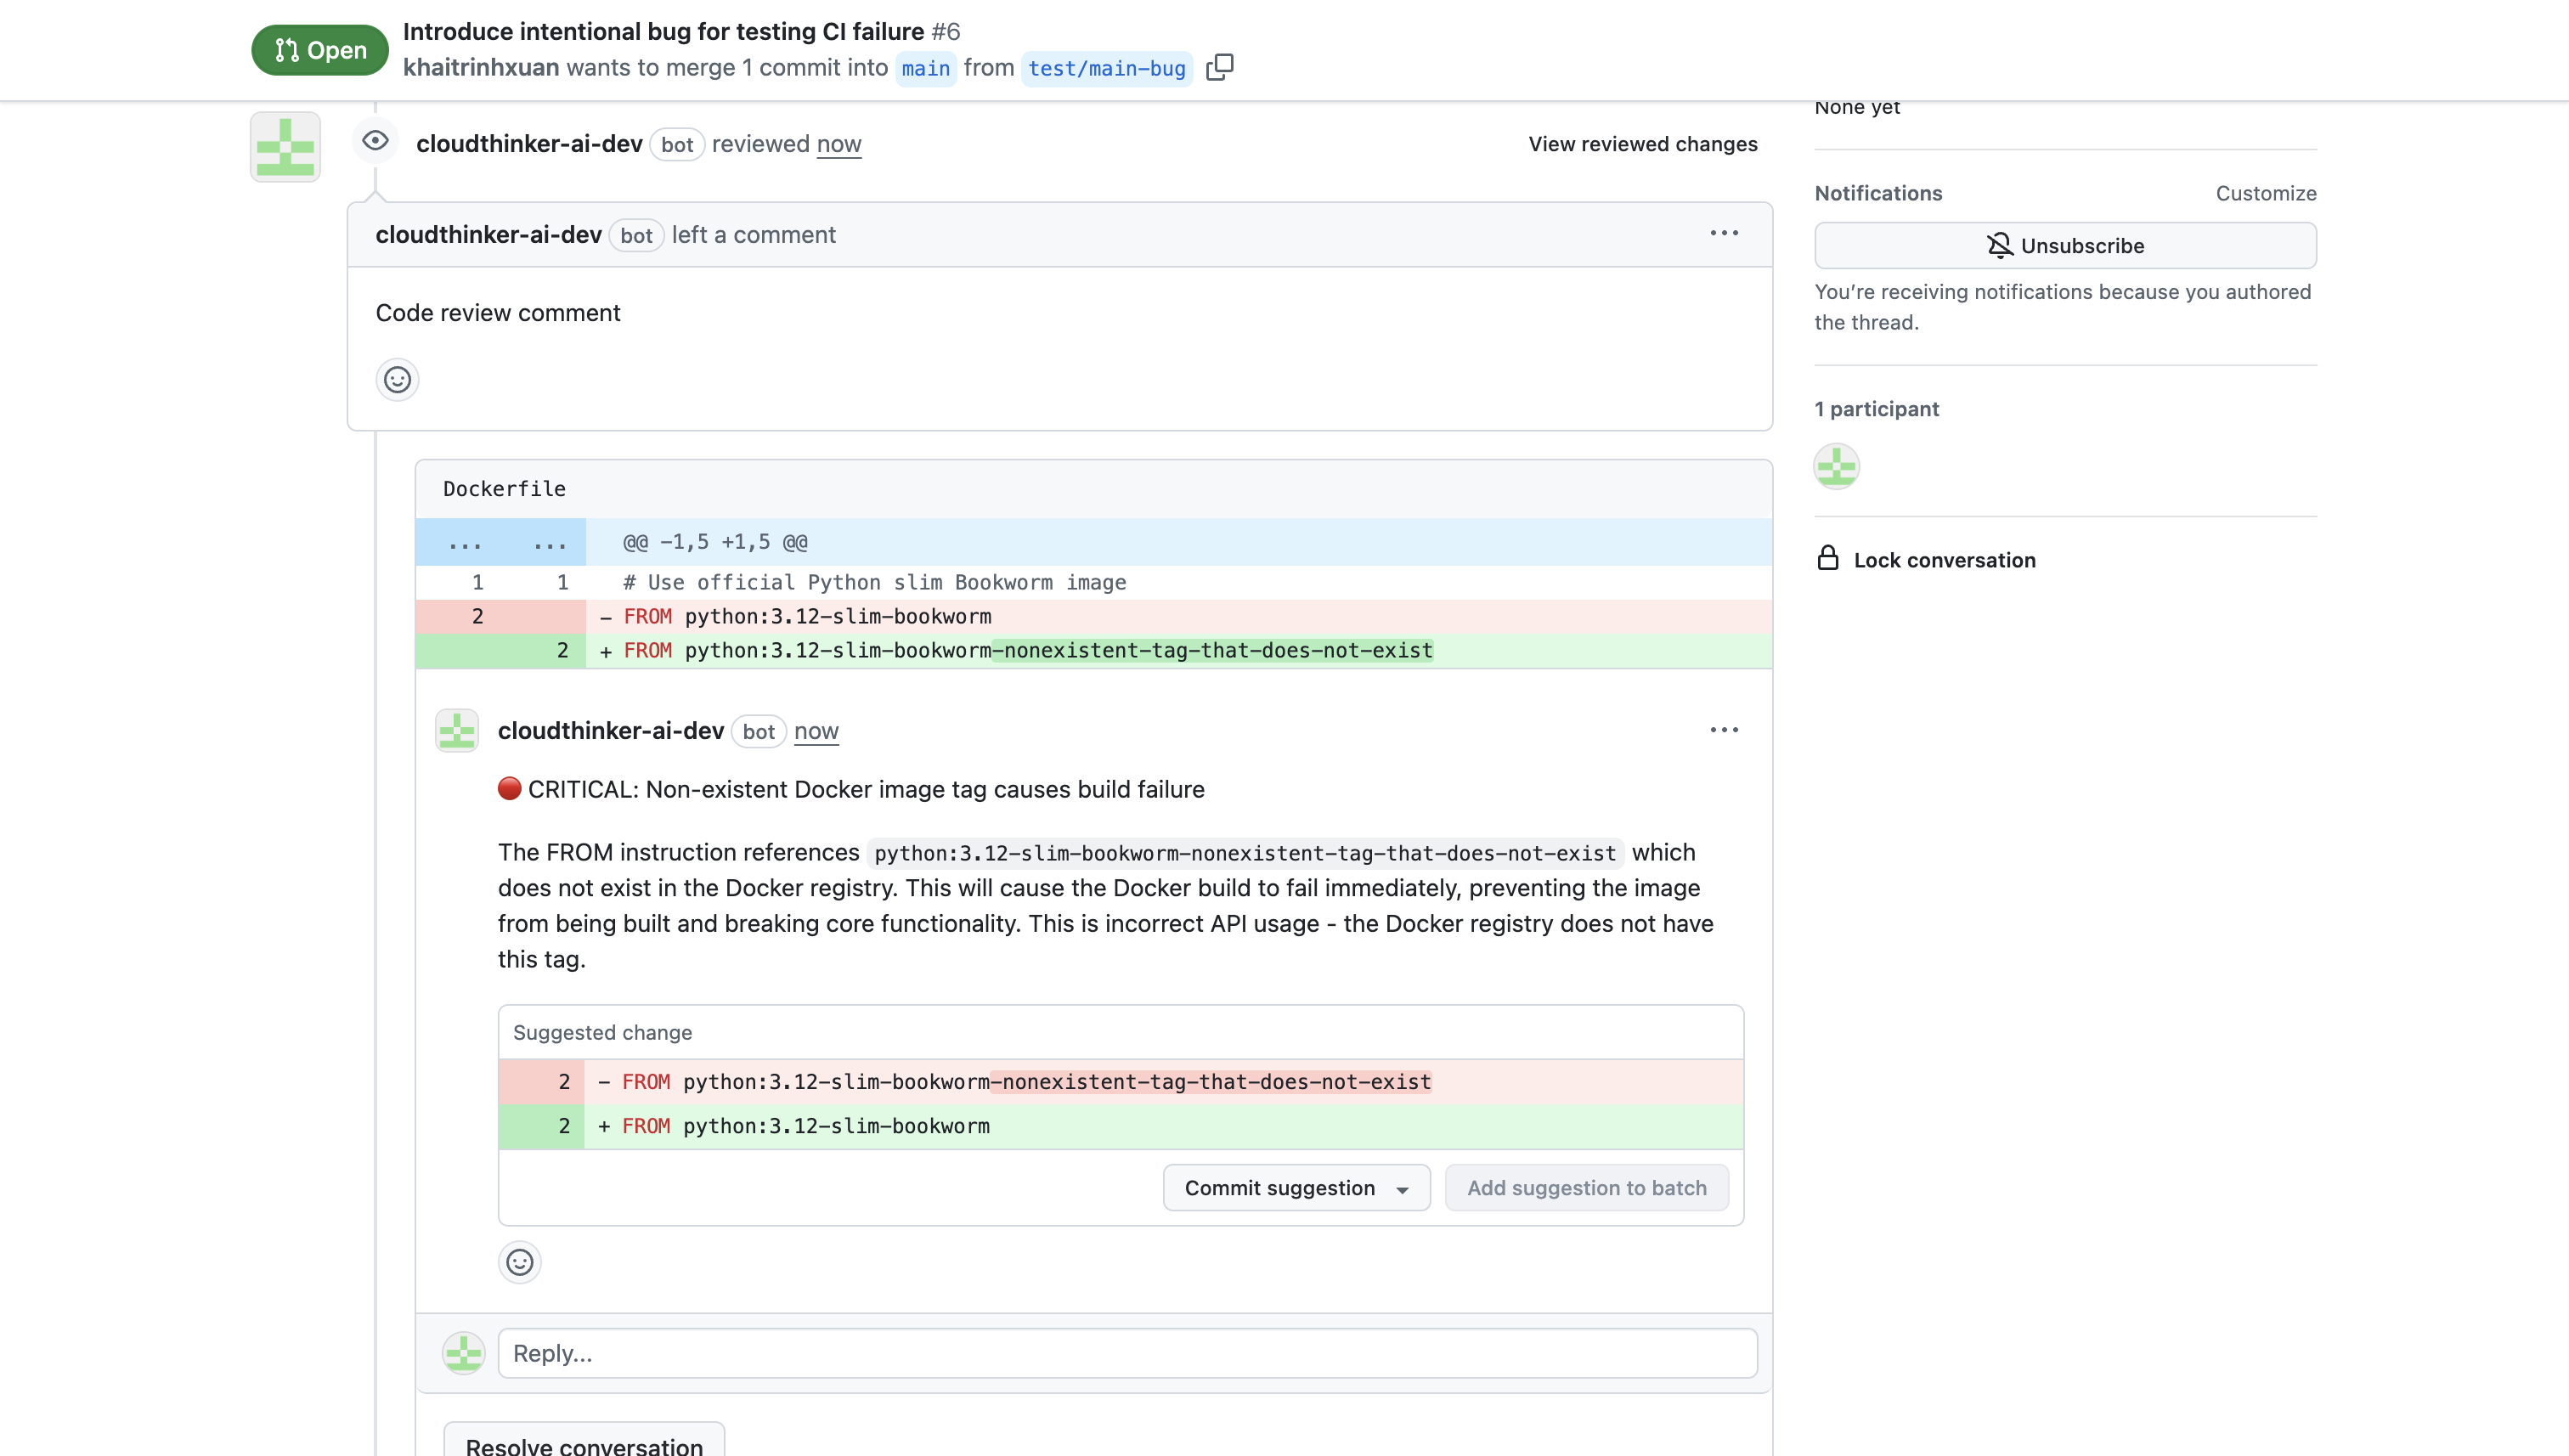
Step 3: View Results
Check status in CloudThinker
View the review status for all your Pull Requests in the CloudThinker dashboard.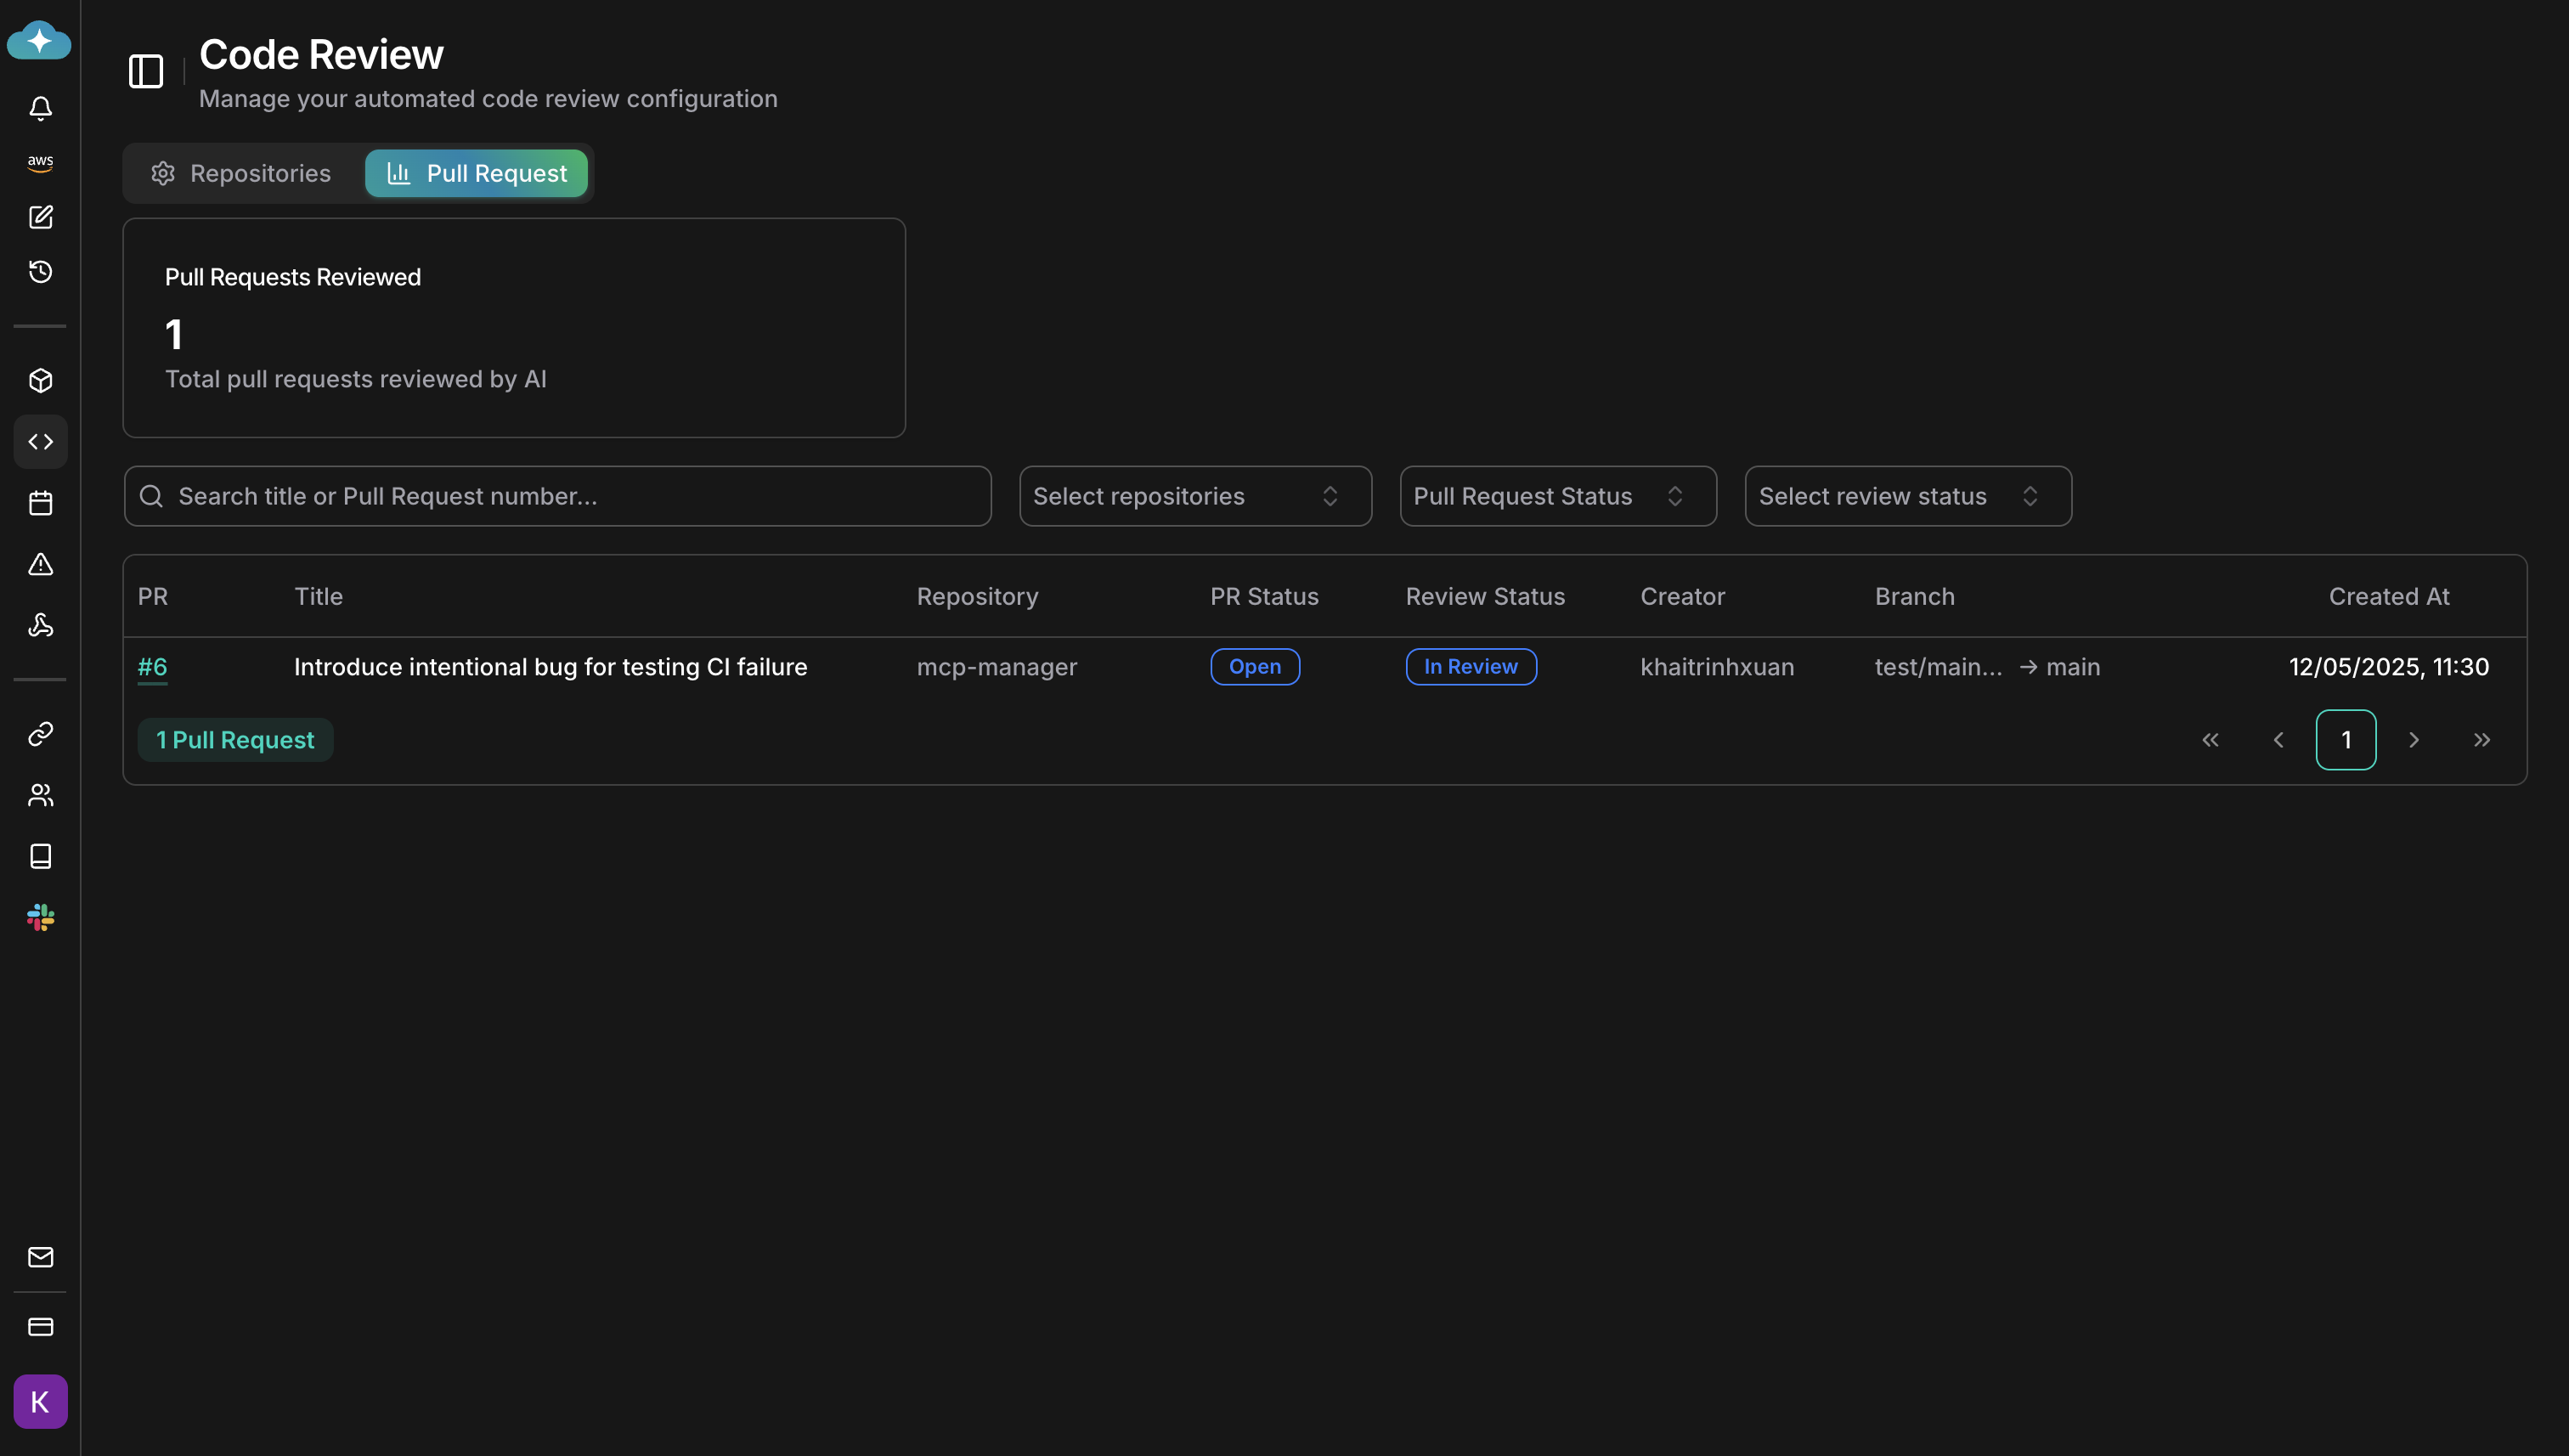
Review modes
CloudThinker offers two review modes that you can configure per repository:| Mode | Description |
|---|---|
| Fast | Quick analysis, lower cost. Ideal for small PRs and rapid feedback. |
| Advanced | Deep analysis with specialists. The review is split across specialist agents for security, performance, correctness, and patterns. Best for critical repositories. |
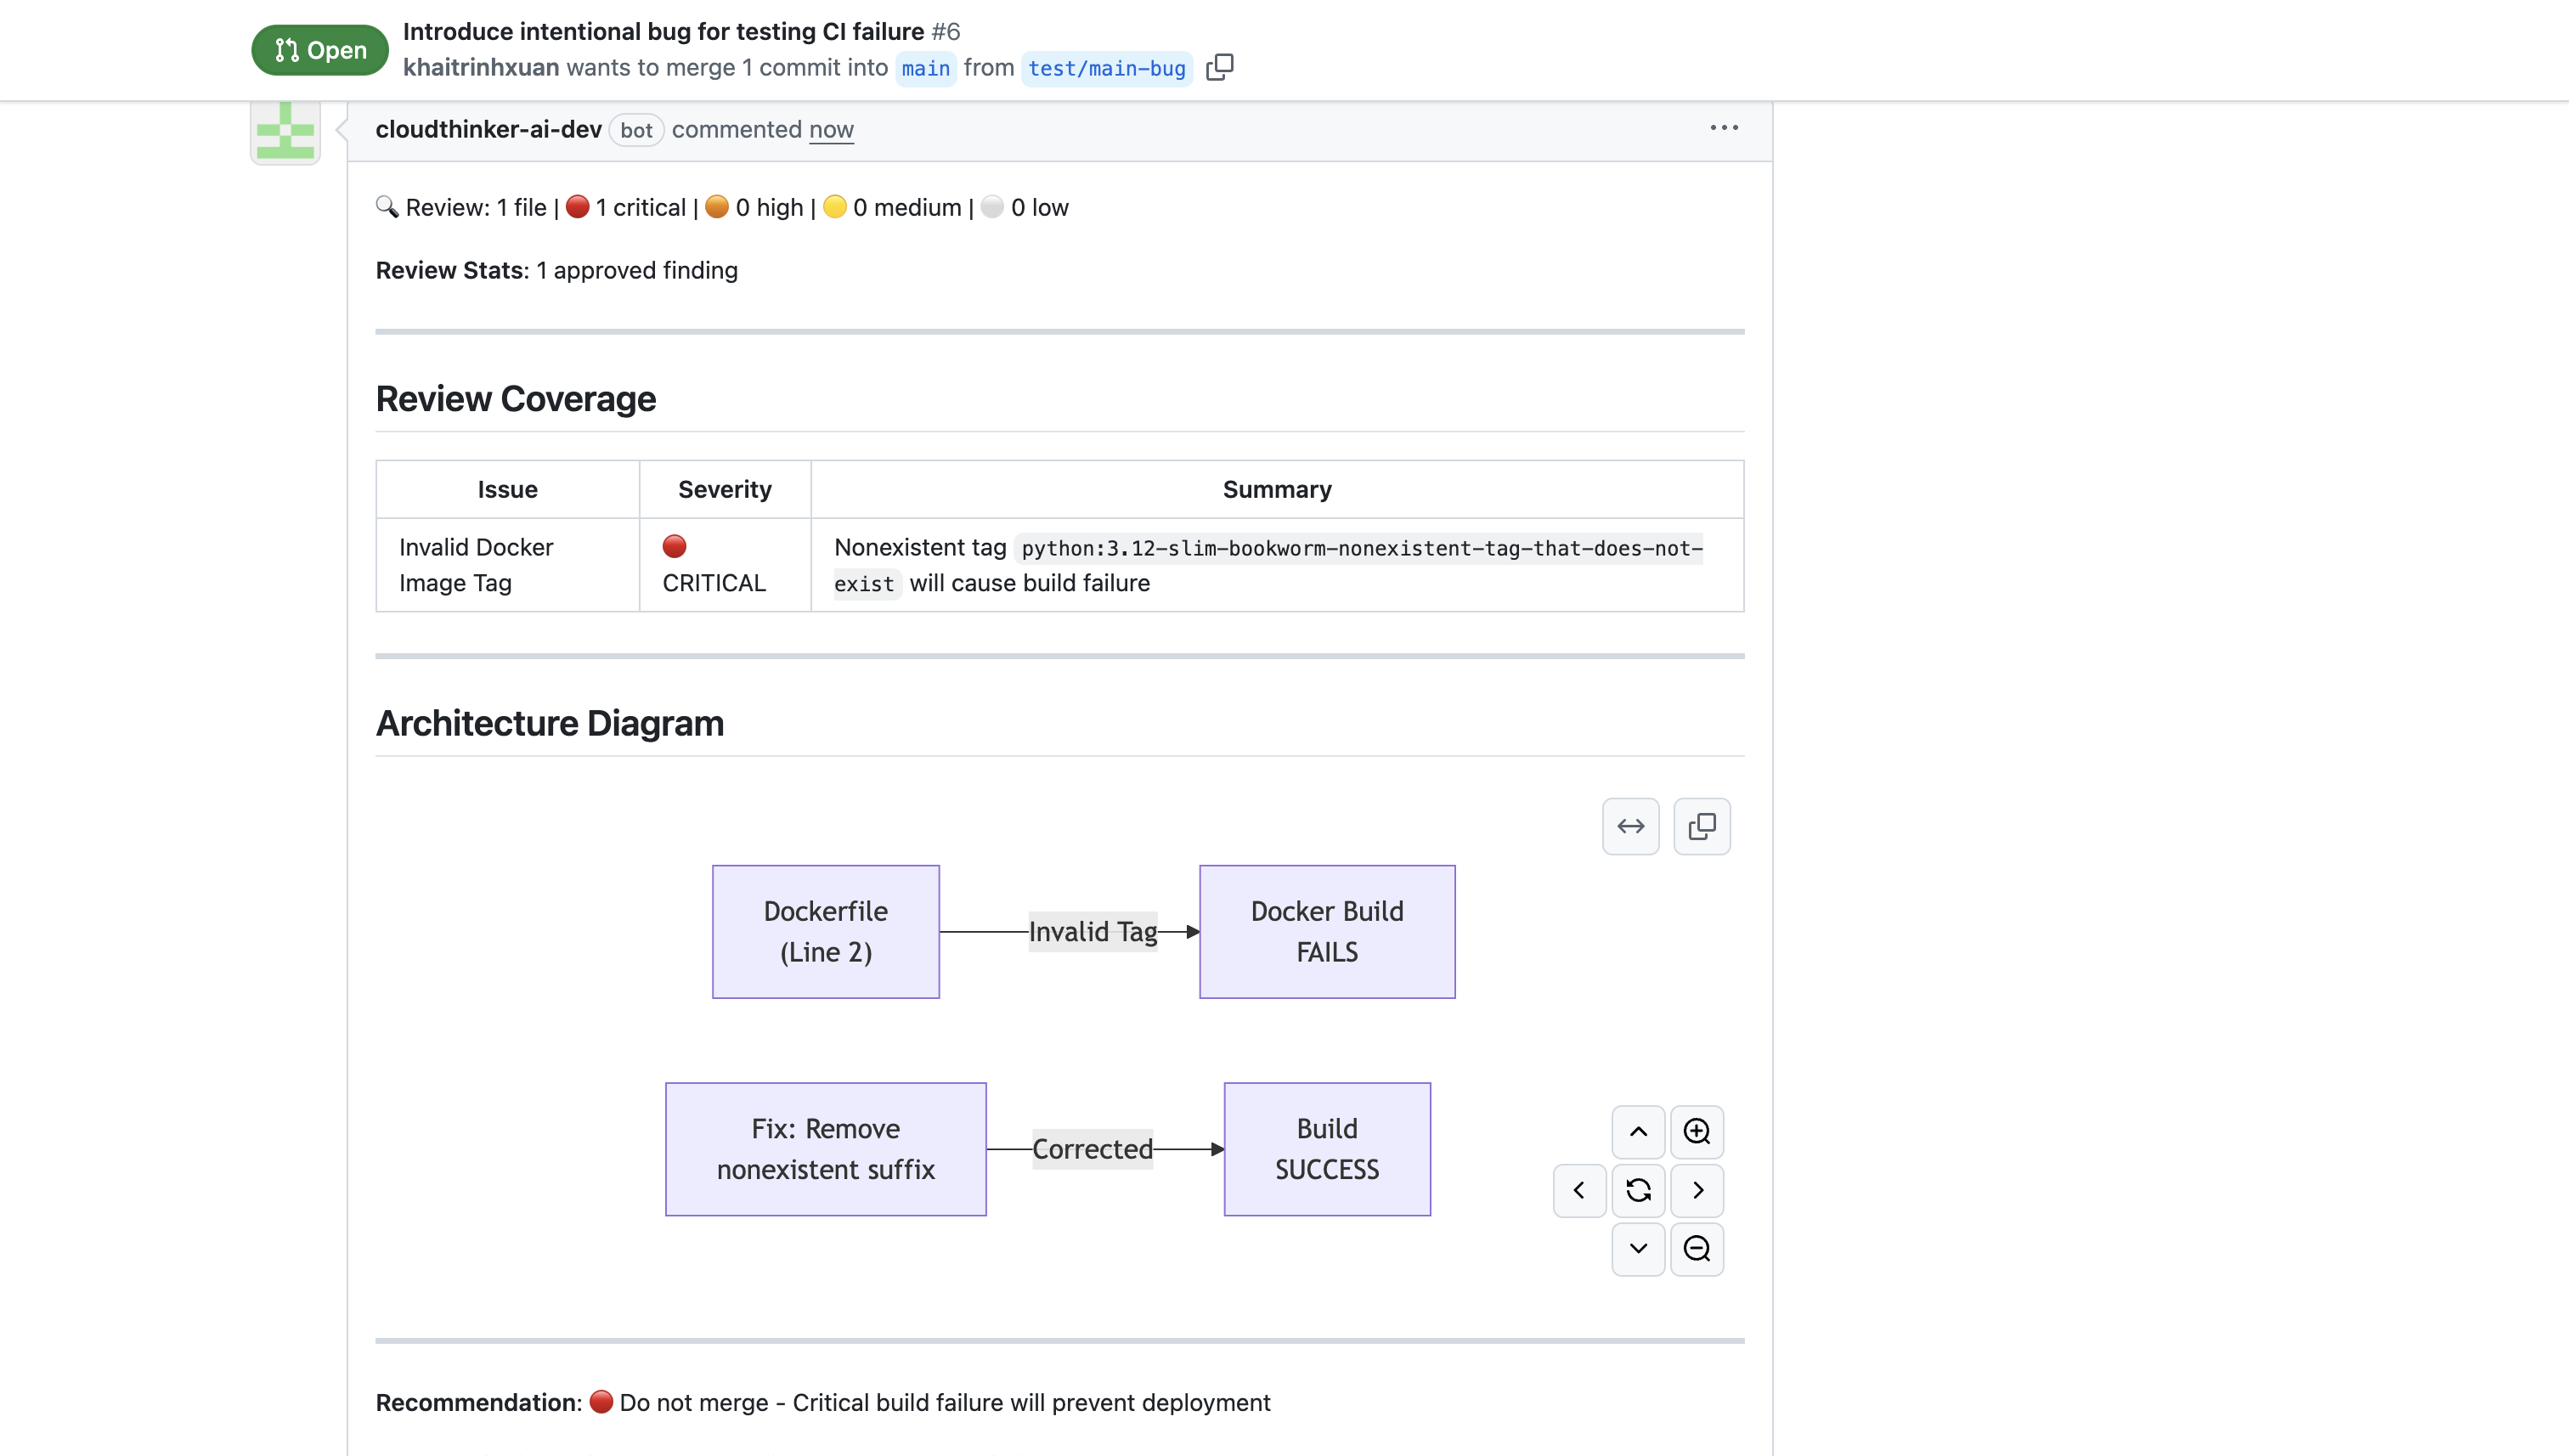
Pipeline monitoring
CloudThinker can monitor your CI/CD pipelines for failures and automatically analyze failed job logs. When a pipeline fails, CloudThinker:- Detects the failed pipeline run
- Fetches and analyzes the failed job logs with AI
- Posts findings and suggested fixes directly on the PR
build.complete events alongside pull request events (git.pullrequest.created, git.pullrequest.updated) to detect failures and analyze logs automatically.
Filter configuration
Control which MRs/PRs CloudThinker reviews using label, author, and branch filters. Filters are configured per-repository in your repository settings after setup is complete.- Label filters: Include or exclude PRs with specific labels
- Author filters: Include or exclude specific authors from reviews
- Branch filters: Include or exclude branches matching specific patterns (filters by target branch — the branch being merged into)
Incremental reviews
When you push new commits to an open PR, CloudThinker performs an incremental review — only the new changes are analyzed, not the entire PR. This keeps reviews fast and focused on what actually changed.What’s Next
Leaderboard
Track team review activity and measure code quality improvements over time
Atlassian Integration
Auto-create Jira tickets for critical findings and pull Confluence context into reviews
Notifications
Configure where code review findings are delivered
Code Review Automation
See a full end-to-end example: SQL injection found, Jira ticket created automatically